
It took me a while to stop missing sushi – it really did.
I was such a sushi lover, that while I was very happy and confident in my decision to quit eating fish, I thought I’d always secretly yearn for it.
One of the things that got me over this was discovering I could make sushi myself, and that the main taste that I craved was really the mix of the soy, wasabi, rice and nori. With an avocado filling for that creamy texture, or tofu for a more chewy texture – you have all the ingredients for that satisfying sushi hit right there. No need to kill the fishkies, or OD on mercury.
Also, I use brown rice. They’ve been doing this in California for a gazillion years. It tastes great in maki rolls, better than white rice in my opinion. If you can get more nutrients, with a great (I think better) taste to boot, then why the hell not?
This recipe is pretty easy, the only slightly difficult part is the rolling, but if cack-handed me can do it – so can you! Don’t even worry if your rolls aren’t too pretty at first, you’ll get the hang of it – and pretty or not, they all taste the same!
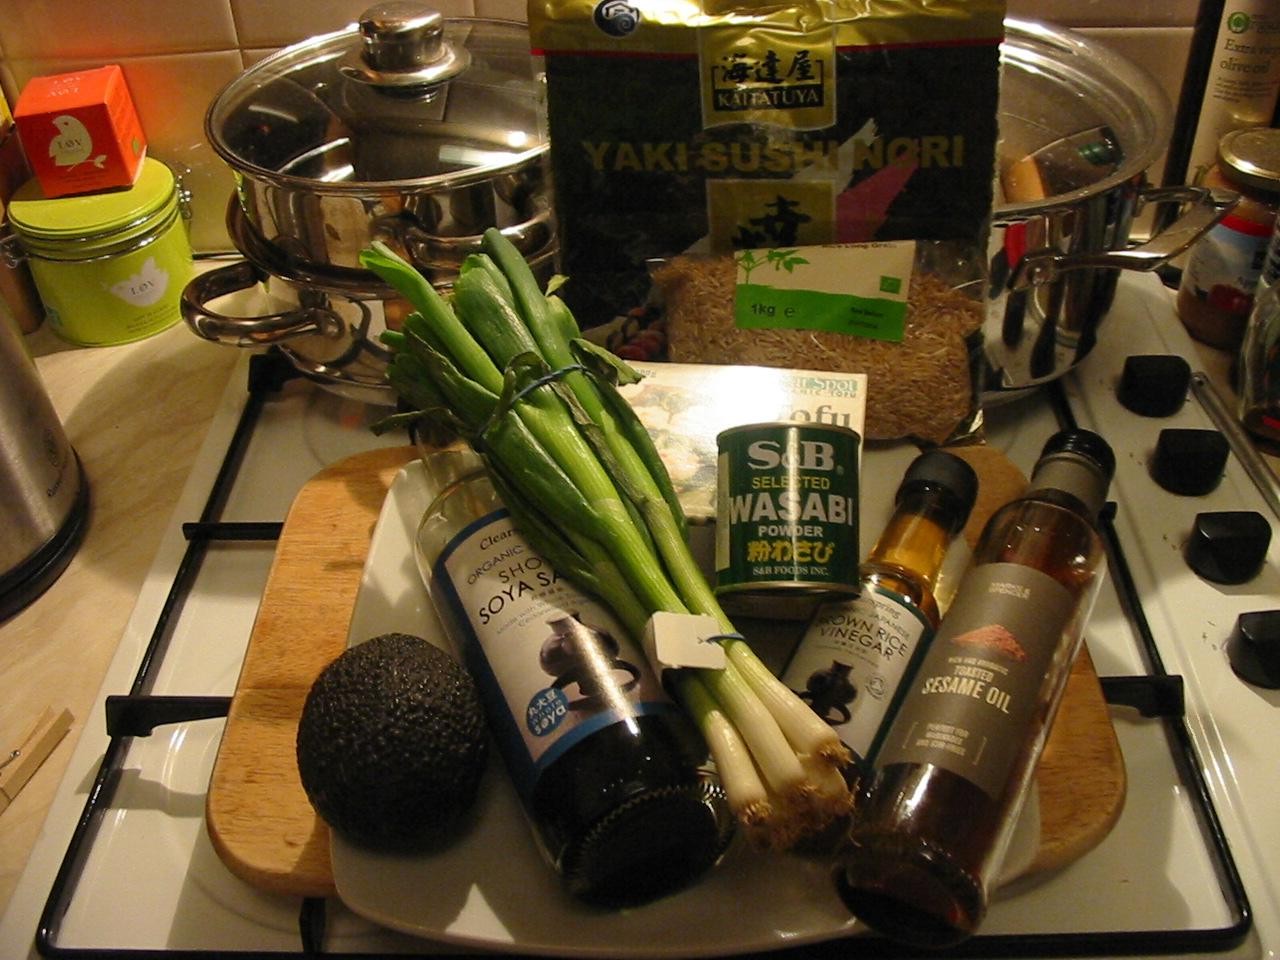
You will need:
-1 sushi rolling mat
– 1 cup long-grain brown rice
– drizzle of brown rice vinegar
– drizzle of sesame oil
– half teaspoon of salt
– 1 pack Nori seaweed
– 1 ripe Haas avocado
– 1 block firm tofu
– 2 tspns olive/sunflower oil (for the tofu)
– 4 or 5 spring onions
To be served with:
– soy sauce
– wasabi paste
What you do:
-Boil the rice as per the instructions on the packet, and then boil for 4 or 5 minutes more. As it’s not the usual glutinous rice used for sushi, you want it to be very slightly overcooked, so it’s a bit stickier than it would be otherwise.
-While your rice is on the boil, drain your tofu and cut it into strips. On a small baking tray or pie tin, pour approximately 1 tablespoon of olive or sunflower oil, and into the oil pour the same amount of soy sauce. Mix it around, and place your tofu strips on the tray, turning them in the mixture so they are all coated.

Put this under the grill (broiler, US peeps!), for around 10 minutes each side, or to taste – a bit longer if you prefer your tofu chewier. When it’s done, just take it out and let it cool.
– When your rice is done, drain and rinse it, and put it in a mixing bowl. Drizzle sesame oil over it (roughly 1 tablespoon), and do the same with your brown rice vinegar, but around 1 1/2 teaspoons. Then salt it conservatively. You don’t need to salt it too much because you’re going to be dipping it in soy sauce while eating it, which will provide most of the salt taste you need. Mix it all up, then taste rice to check you can taste a tiny bit of everything, then leave to cool.
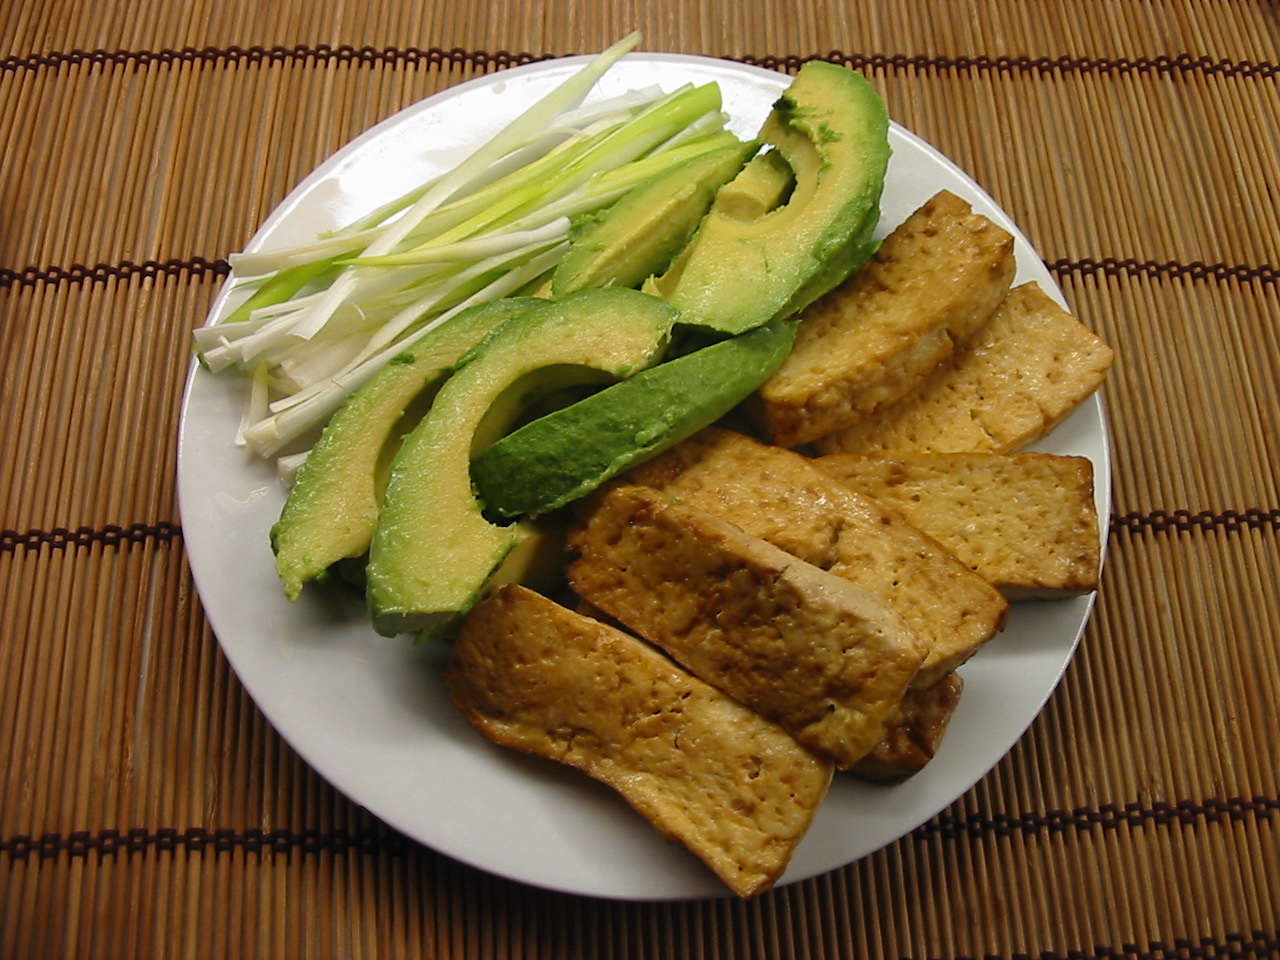
– Prep your filling ingredients. Slice the avocado, slice the spring onions into strips, and put on a board or plate along with the tofu you grilled earlier. Keep them right next to where you’ll be rolling your sushi, for easy access.
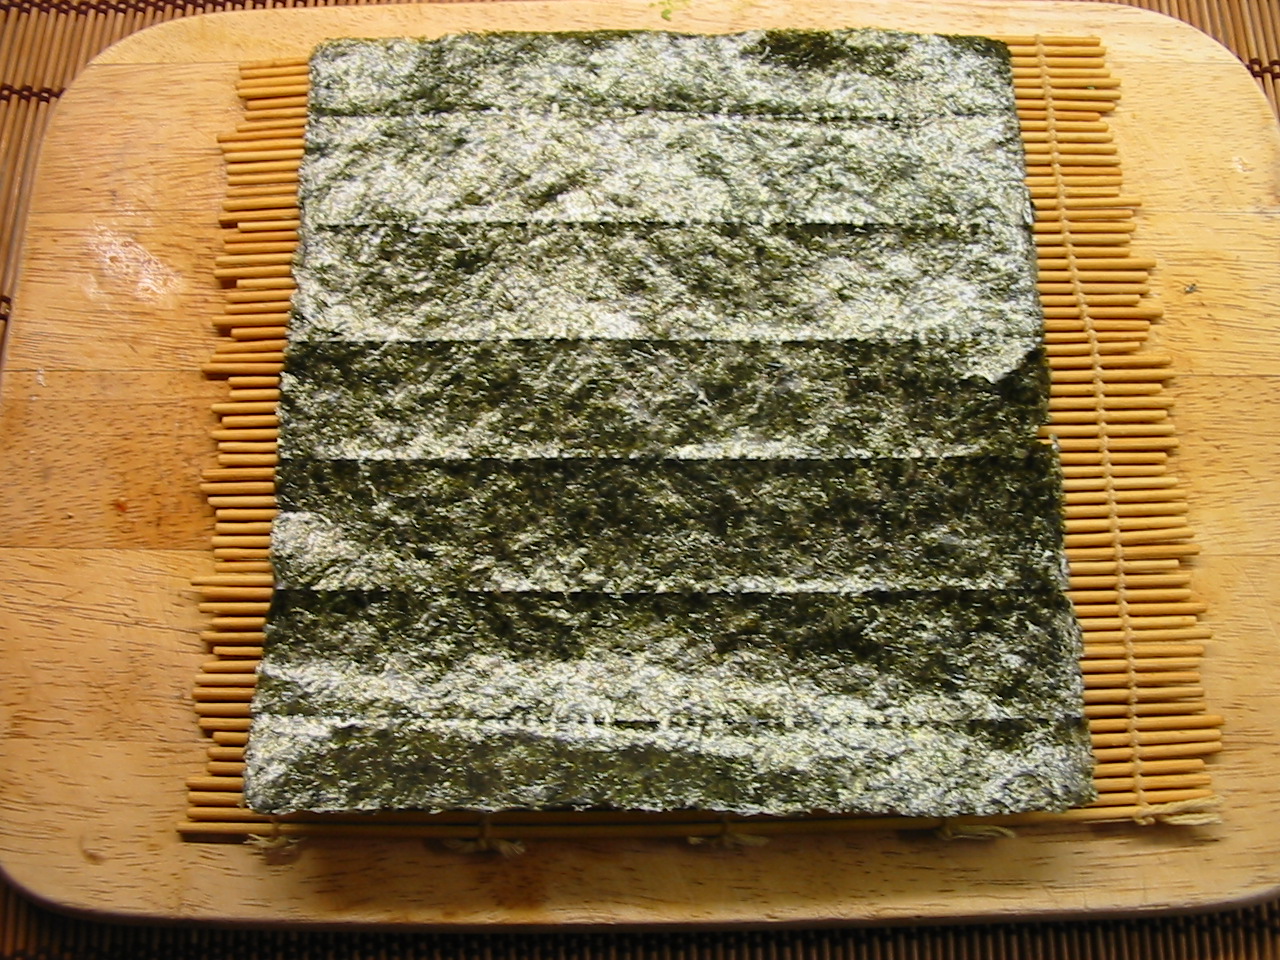
-Place your sushi mat on a chopping board, and a sheet of Nori vertically on top of it,
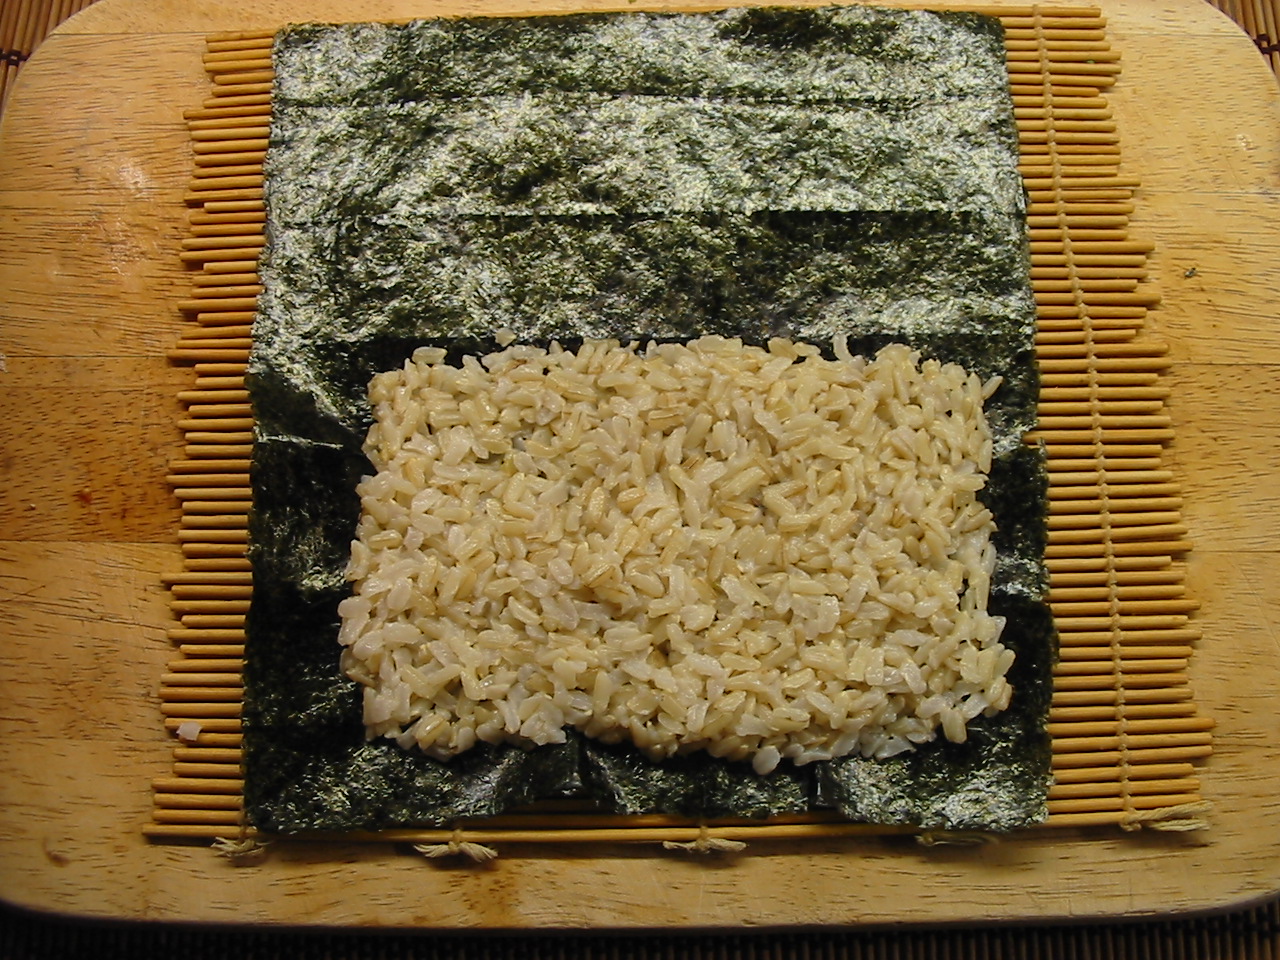
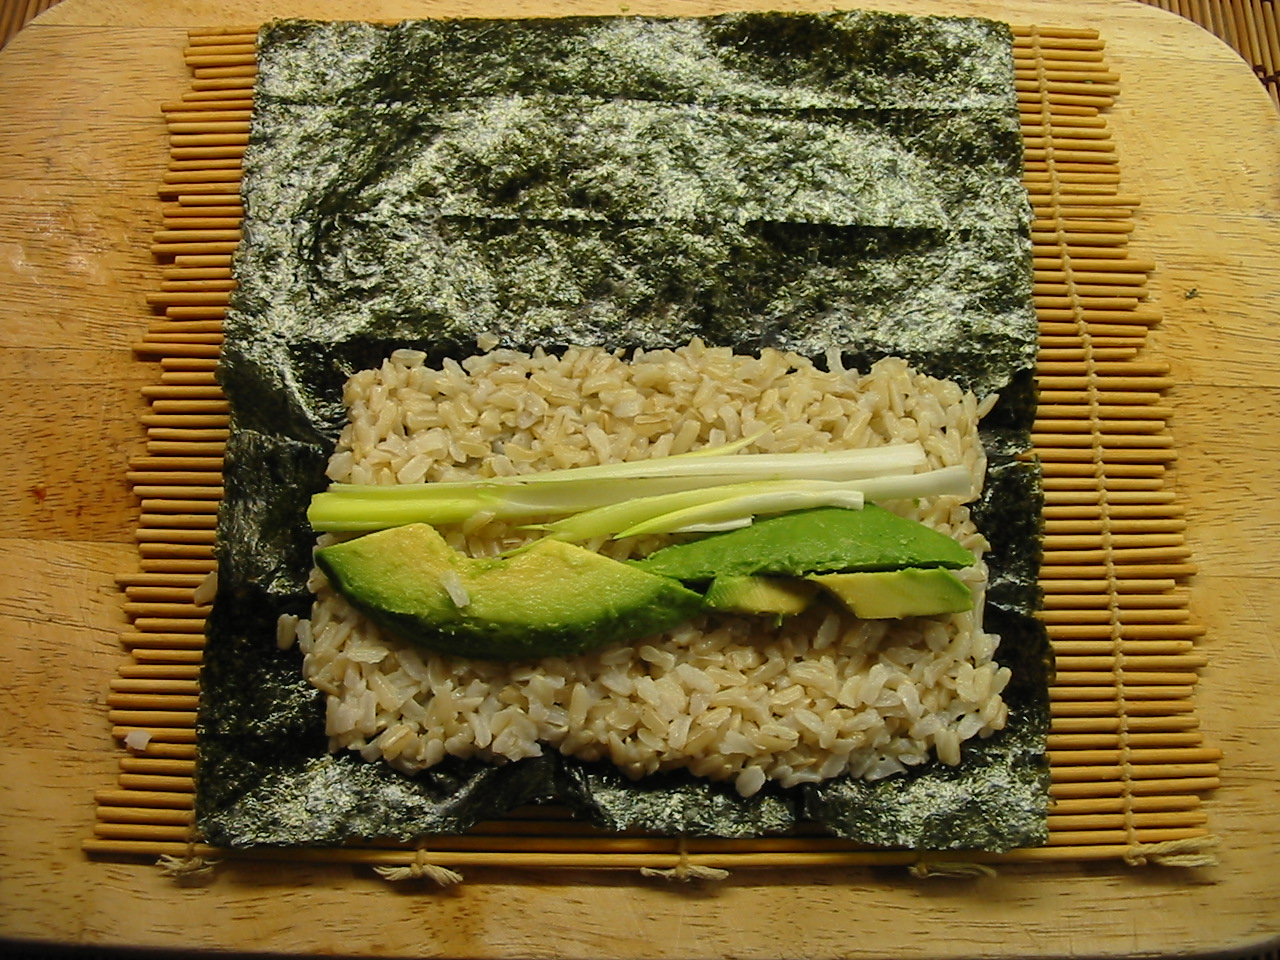
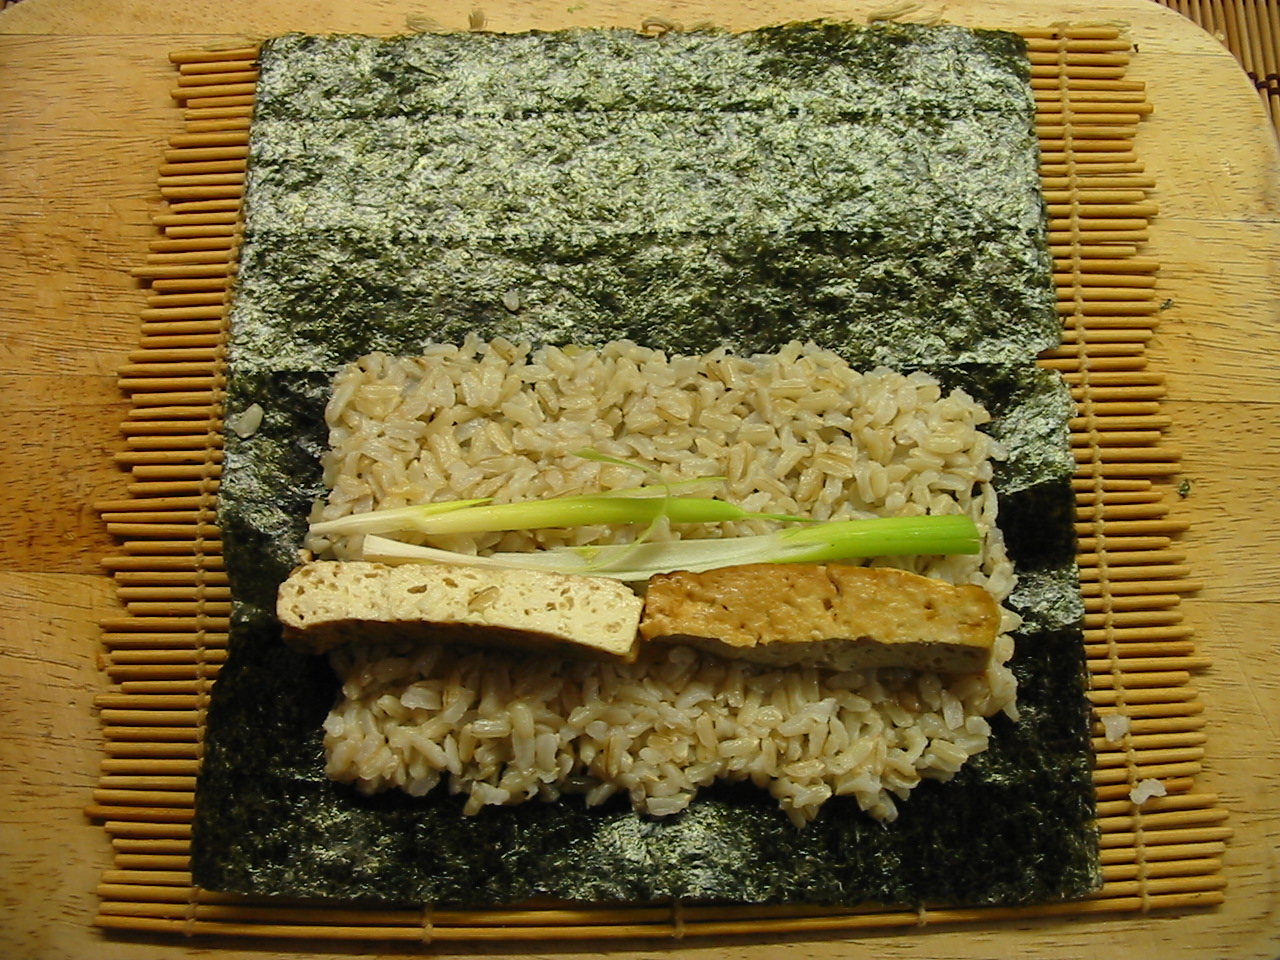
-Put approximately two dessert spoons of your rice mixture on to the Nori, and press it down into a rectangle in the bottom centre of the sheet, leaving around two centimetres at the bottom and sides. Pack it down tight, as much as you can, like so:
– Place an avocado or tofu strip in the middle of your rice rectangle, running horizontally, and put a few strips of spring onion alongside making sure you have spread them to the edges of your rice rectangle.
You are now ready to roll, hurrah!
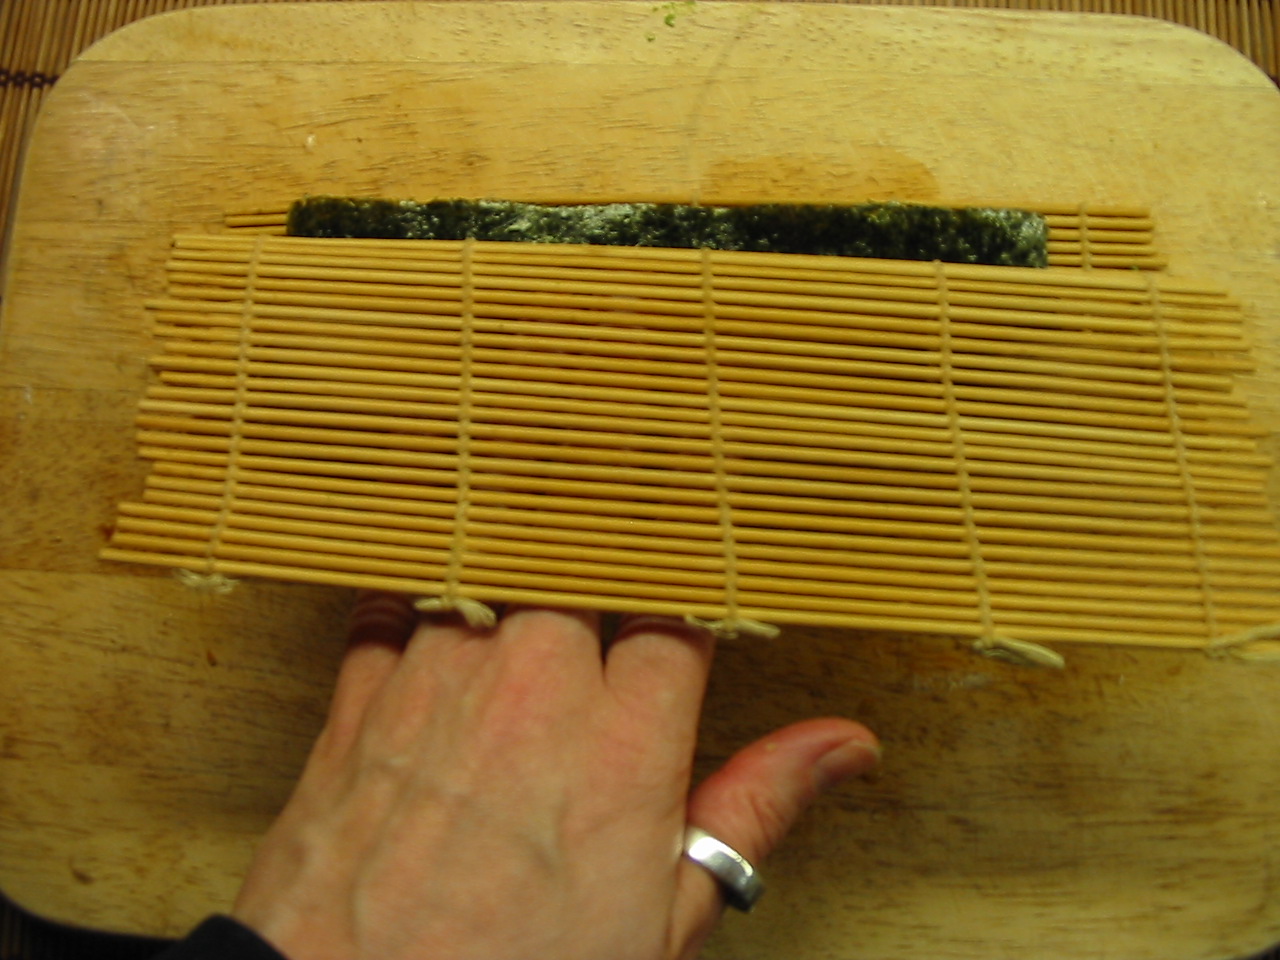
Take the mat and roll it (away from you) over the top of your filling, like so;
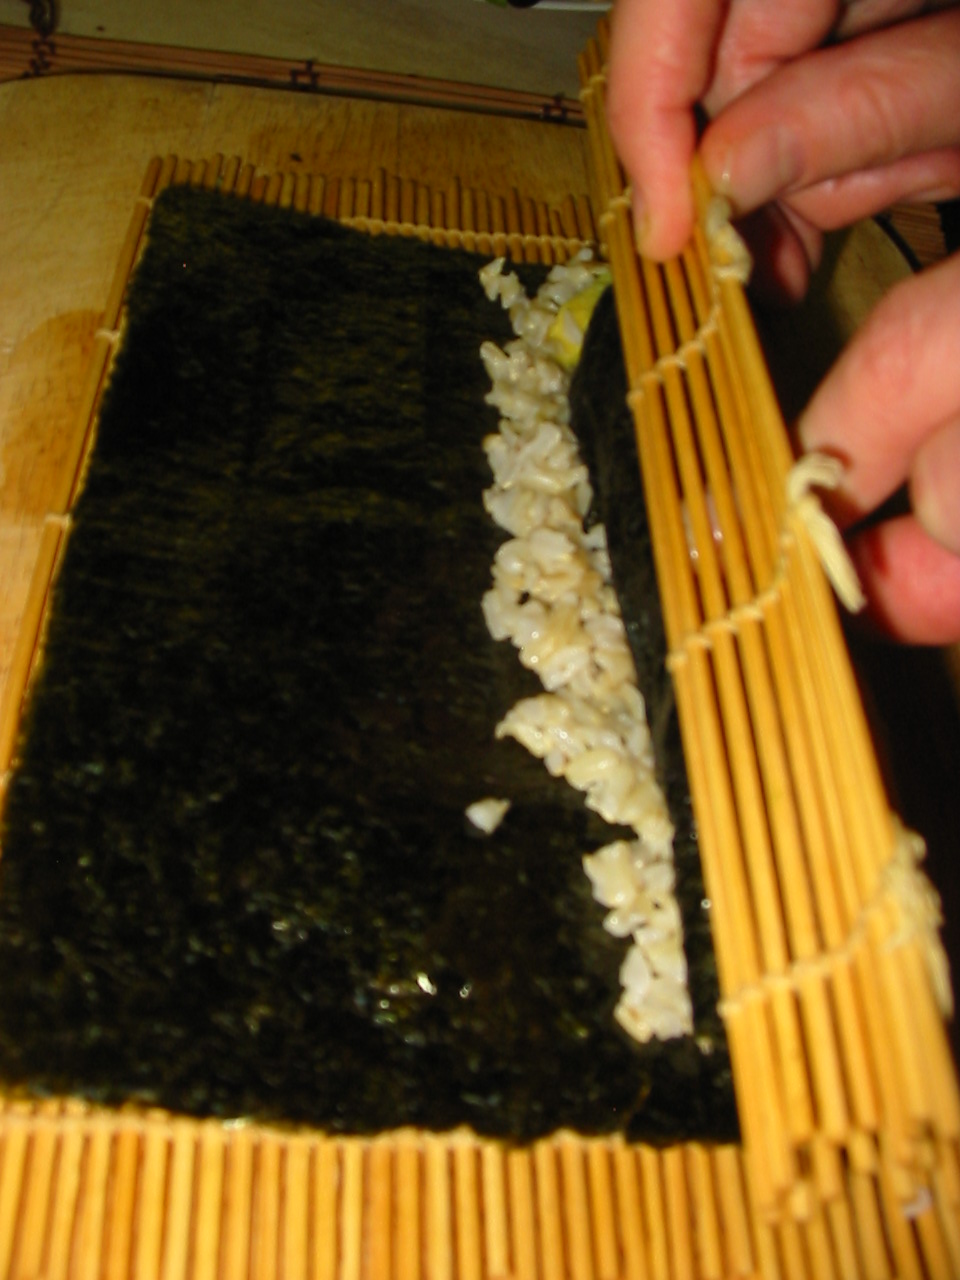
Then push the top of the nori under your filling – making sure not to push the mat under too, and continue rolling the nori up using the mat.
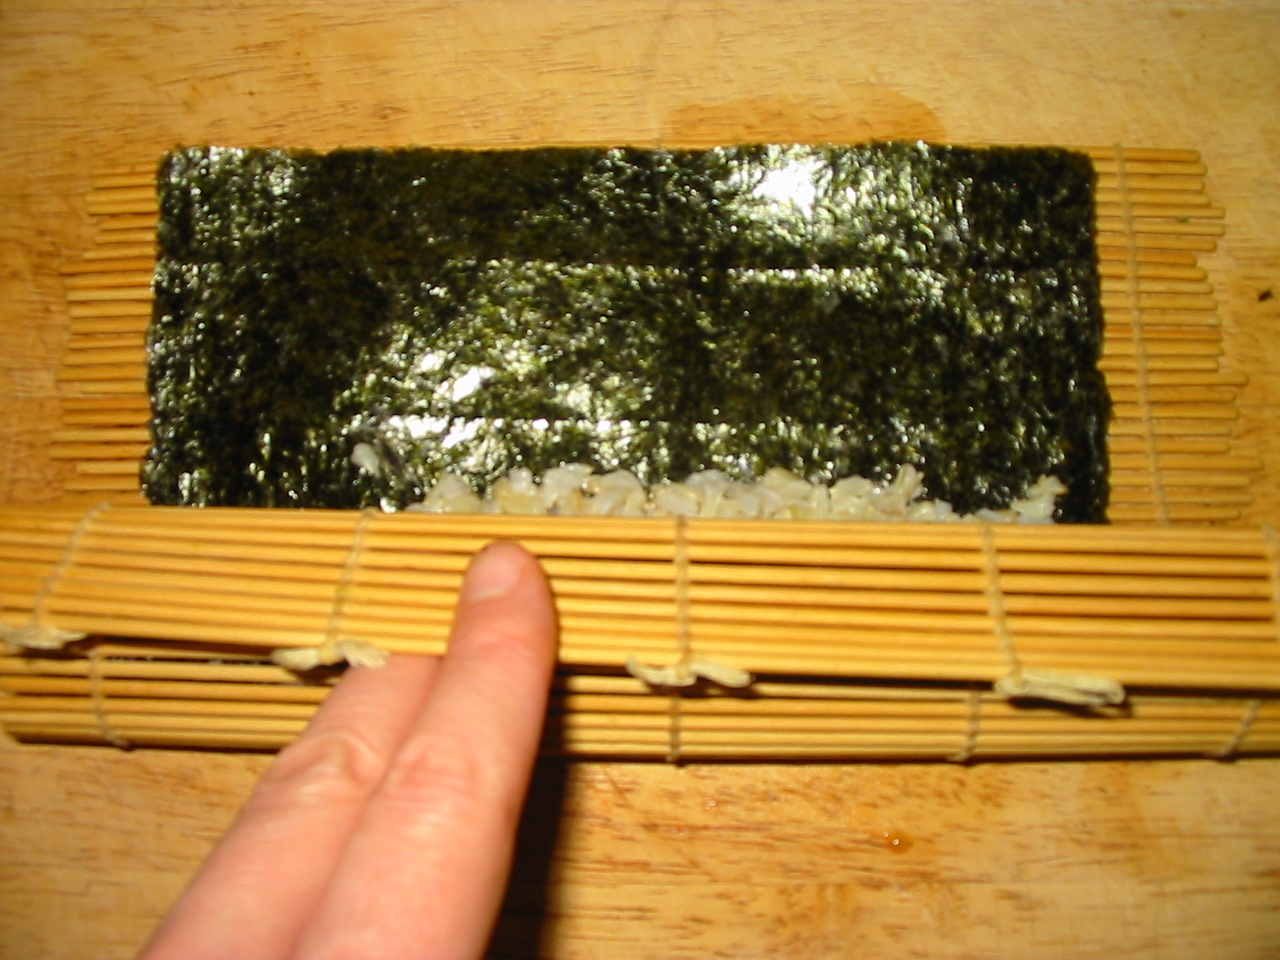
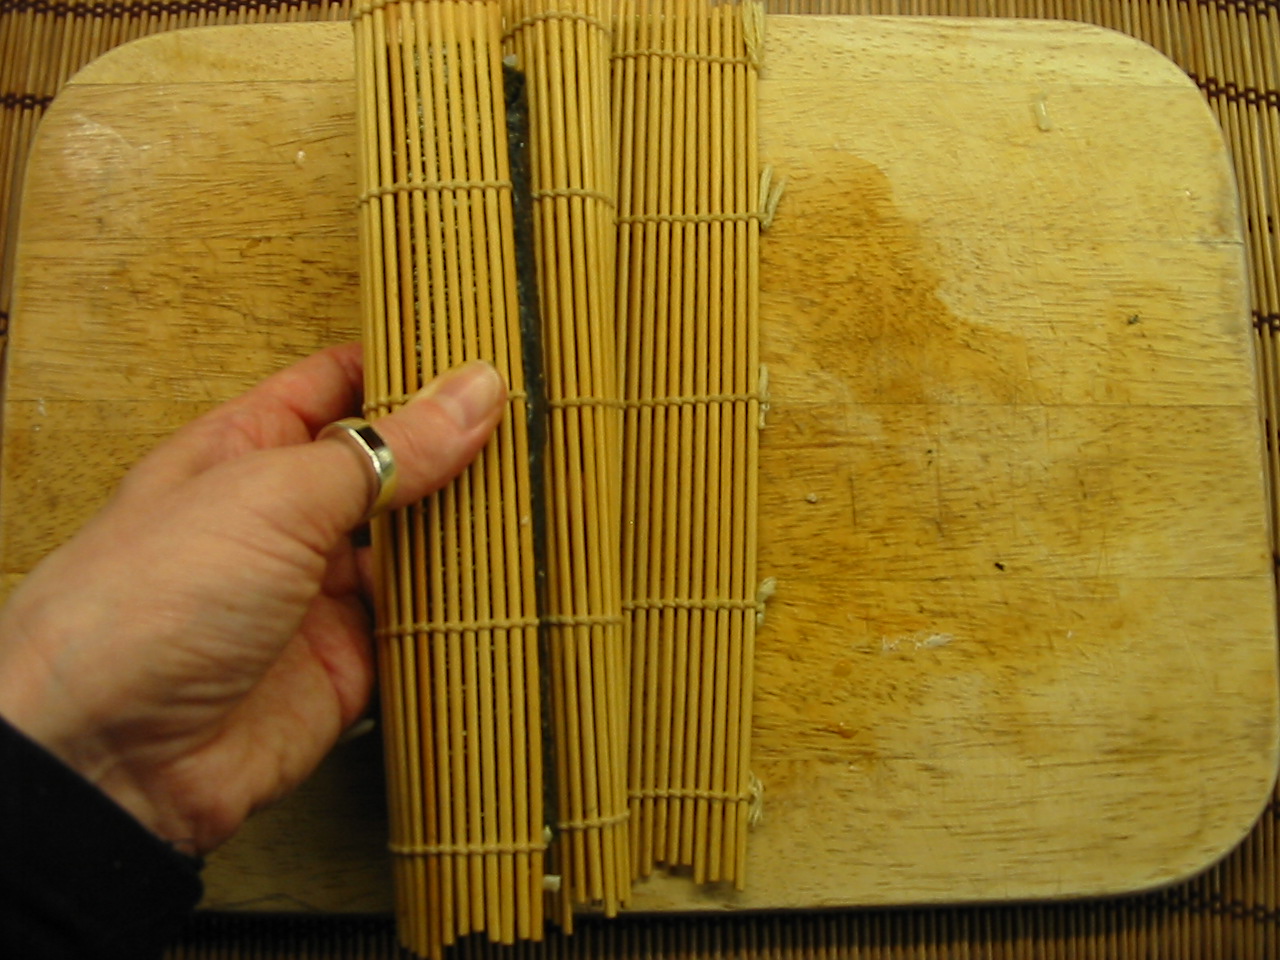
When you’ve rolled the nori almost up to the end, you can moisten the top edge with water (just use your finger) to help it stick together well. In case my explanation isn’t too clear – this very short little vid demonstrates it nicely. Roll it up completely and put the mat all the way around it and squidge it a bit, and hold it for a few seconds just to secure it.
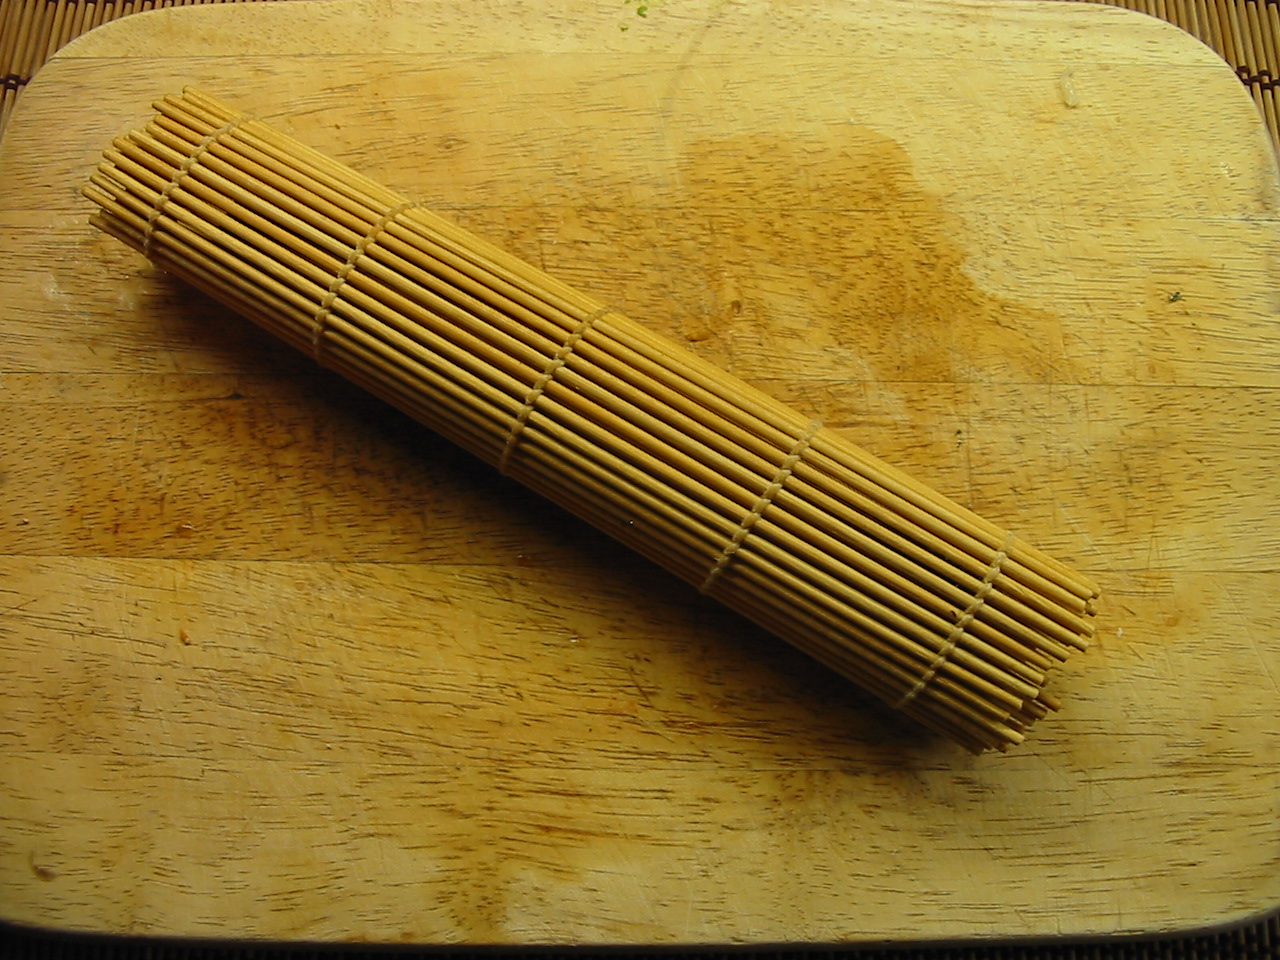
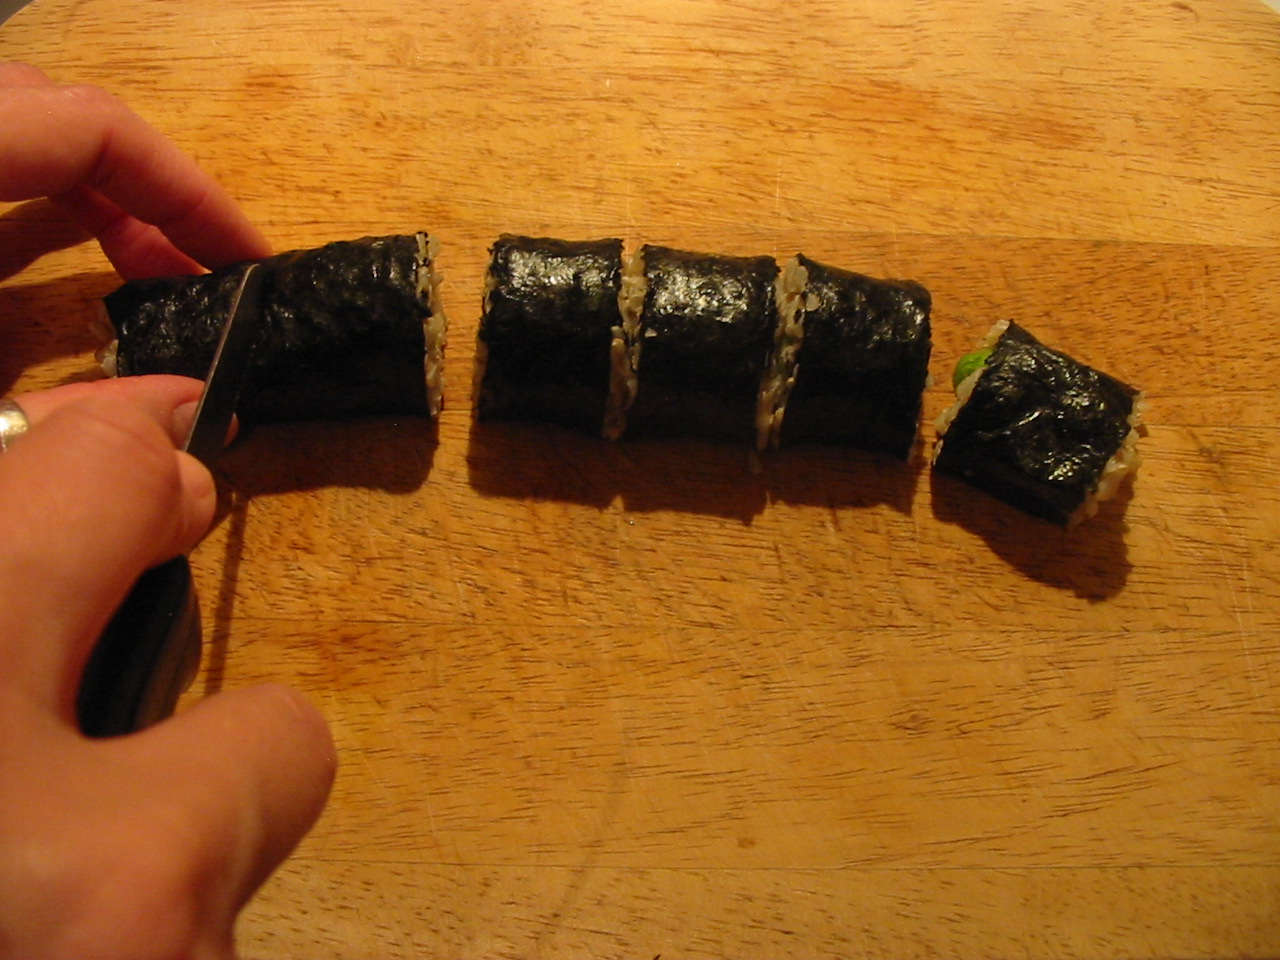
Then unroll your mat and voila! A maki roll ready for slicing.
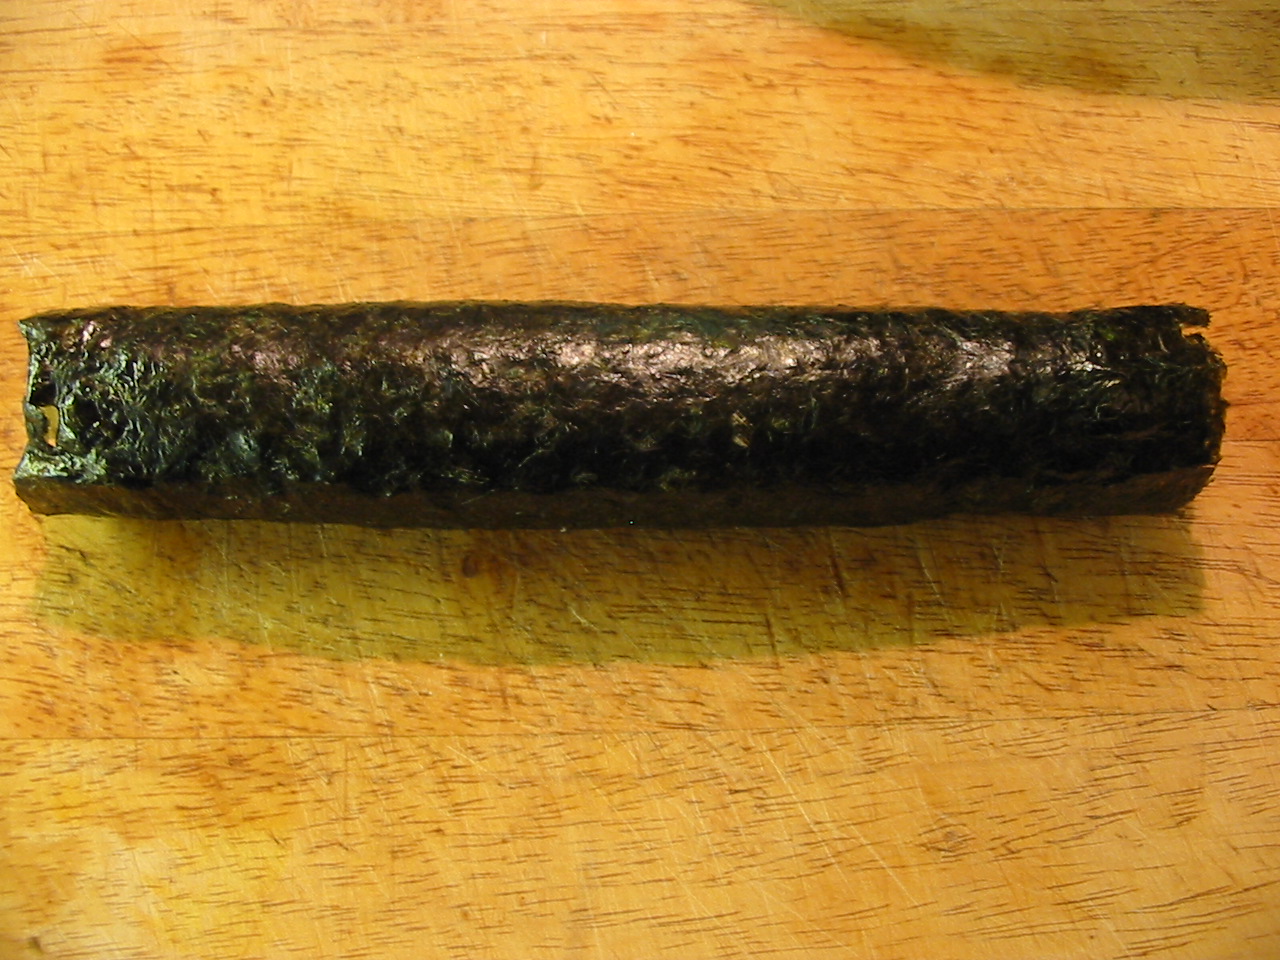
Slice the roll with a sharp serrated knife into 3 cm (or 1 in) rounds. When I slice it, if the ends aren’t pretty – I just eat them as I go along! The rest present on a serving platter.
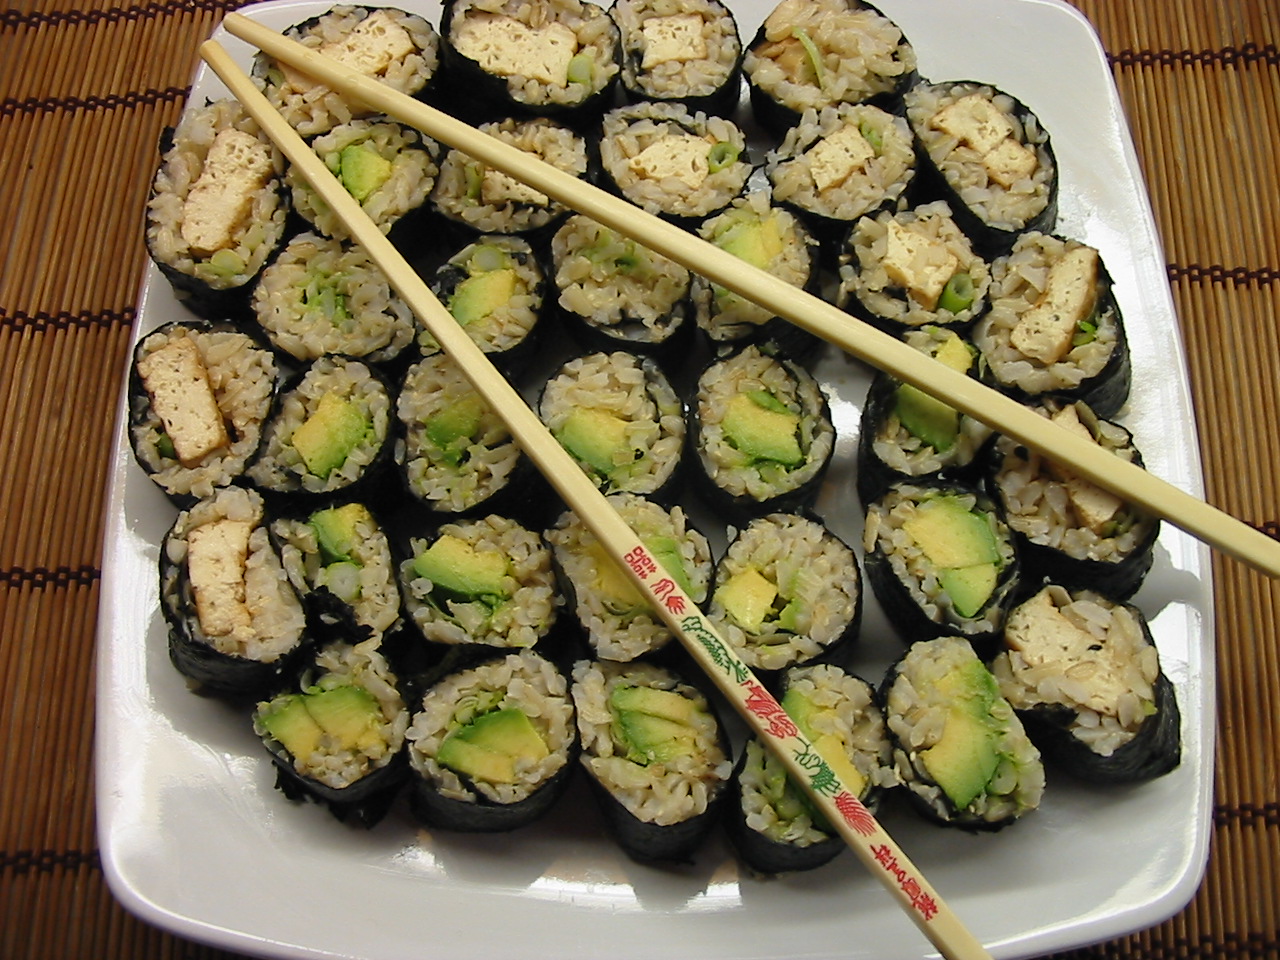
You should have enough rice to do this 5 or 6 times. When you’re done, you can sprinkle the rolls with sesame seeds, or furikake.
Mix the wasabi according to instructions on the tin (if not pre-made) and serve your rolls with this and soy sauce.
Of course you can use whatever you want as filling – julienned cucumber and carrots, daikon, sprouted seeds, baby asparagus, rolled up spinach leaves, a mix of all/some of these. The possibilities and permutations are endless.
So you see, a plant-based diet does NOT mean giving up that great sushi taste, not by a long shot. Get rolling! DO IT.